
Introduction to ISO Container Modification
ISO containers, those big steel boxes used for shipping, can be way more than just static storage. When you’re thinking about modifying them – whether that’s for repair, an upgrade, or a totally custom job – there are a few key points to keep in mind right from the start. You’ll need to consider the container’s structure, the type of modifications you want, the costs involved, and local regulations. Also, think about the container’s condition. A used one might save you cash, but it could need more work before starting any major changes. Keep in mind, any modification work requires planning and, often, professional help to ensure the end product is safe and up to code. So, before diving deep into transforming an ISO container, remember it’s all about smart planning and understanding what you’re getting into.
Assessing Your Needs: Repair, Upgrade, or Customize?
Before diving into repairs, upgrades, or customizations for your ISO container, you need to figure out what you’re really after. Is it fixing a leaky roof, adding insulation for temperature control, or replacing the side pannels? Here’s the deal: Repairs are your go-to if your container is damaged. Think rust patches or dented walls. This is about getting it back in shape so it’s good as new. Upgrades, on the other hand, are about boosting your container’s functionality or performance. Maybe you need better locks for security, or you’re looking to install solar panels for off-grid power. That’s all upgrade territory. Whether it’s a repair, an upgrade, or a full-blown customization, making an informed choice is key to getting the most out of your ISO container project.
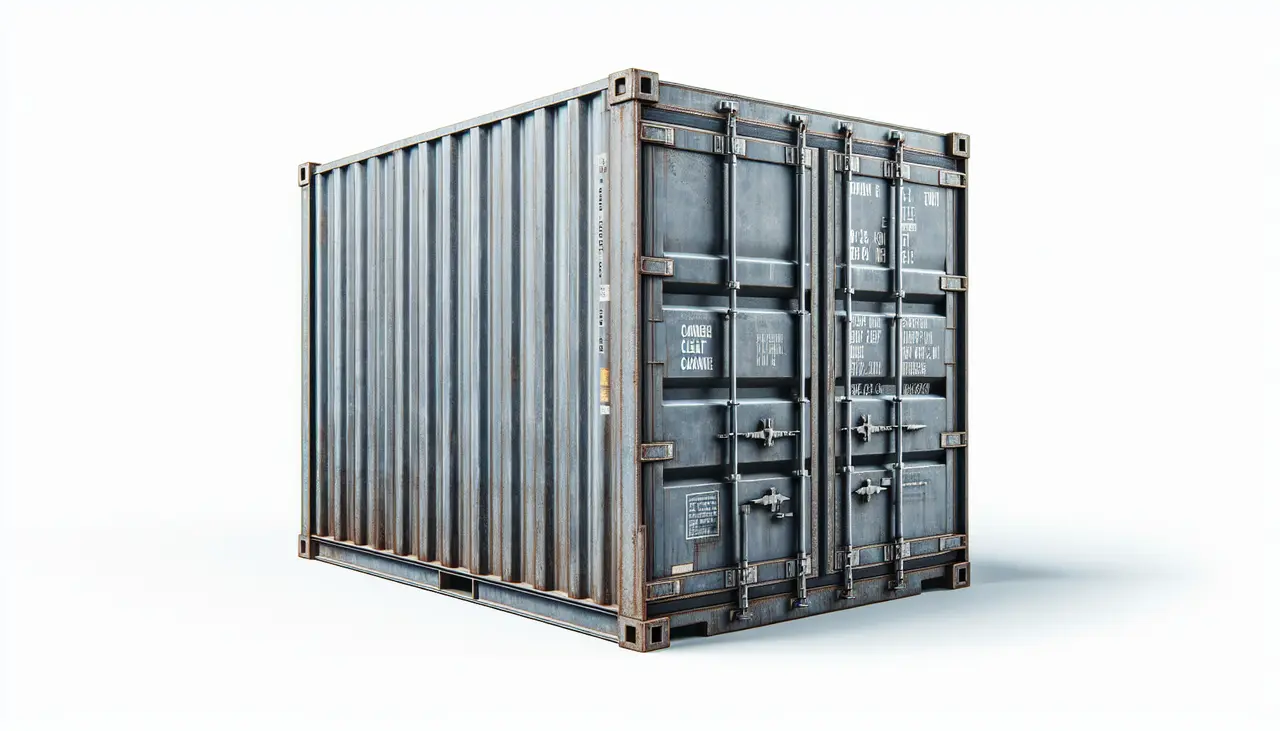
Understanding the Structural Integrity of ISO Containers
Before you start tweaking or enhancing your ISO container, first size up its strength. Picture your container as a robust box, designed to carry heavy stuff and withstand tough times. Yet, as time rolls on, a bit of wear and tear is bound to happen. Here’s what you need to know: these containers are crafted from corten steel, a material that’s pretty much a superhero against rust and corrosion. However, even superheroes have their off days. Focus on the corner posts and cross members since they act as the spine of your container. Any serious harm here could shake up the entire framework. Keep an eye out for rust patches, dings, and any twist or turns out of the ordinary. Small troubles can usually be tackled with a bit of hard work and the correct supplies. But, bigger problems might call for a professional’s touch, or it could signal the end of the road for your container. The aim is not only to make it presentable but to make sure it’s robust enough for whatever you plan to load or store in it. By maintaining the structural health, your container is set to last longer and serve you more efficiently.
Choosing Materials for Durability and Efficiency
When it comes to fixing up, upgrading, or customizing your ISO container, picking the right materials is crucial. You want stuff that’ll last and won’t break the bank. Think about it – you’re probably using your container for storage, maybe a mobile office, or even a tiny home. Each use demands materials that can handle the job.
First off, steel is your best friend for the container’s structure; it’s tough and can take a beating. But, not all steel is the same. COR-TEN steel, for example, resists rust better than regular steel, making your container last longer especially if it’s out in the open.
Then there’s insulation. If you’re turning your container into a living space or office, you’ll want material that keeps the heat in when it’s cold and out when it’s hot. Foam insulation boards are a solid pick. They’re efficient and easier to work with than some of the other options out there.
For the interior, consider materials that are both practical and pleasant to look at. Plywood or MDF (Medium Density Fiberboard) can be good for walls and floors since they’re affordable and can be painted or stained to look great. Plus, they’re light enough not to add unnecessary weight.
Remember, picking the right materials can make or break your project. Don’t just go for the cheapest stuff. Think about durability, efficiency, and how they’ll stand up to the weather. A bit more spend upfront can save you heaps in repairs down the line.
Navigating Regulations and Compliance for Container Modifications
When you decide to modify your ISO container, whether for repair, upgrade, or customization, diving into the world of regulations can feel like wading through thick mud. Every country, and often individual regions within those countries, has its own set of rules you must follow. Ignoring these can land you in hot water, potentially facing hefty fines or even having your container sidelined. Key regulations to watch out for include structural integrity standards, ensuring modifications don’t compromise the container’s capacity to bear weight and remain sturdy during transport. Safety is another biggie. For example, if you’re adding electrical installations, they need to comply with specific safety standards to prevent fire hazards. Custom upgrades, like windows or doors, can’t just be a slapdash job. They need to factor in security and weather resistance, keeping in line with international container safety conventions. Also, think about certification badges. Containers often require inspection and certification to prove they meet certain international standards. If you change your container, it might need to be re-certified. To keep your project moving smoothly, get familiar with the applicable regulations. Talk to experts, consult with local authorities, and maybe even join forums or groups where people share their experiences and advice. It can save you a ton of time, money, and headaches down the line. Keep it legal, keep it safe, and make sure your modified container is ready to face the world.
Innovative Design Ideas for Container Customization
When customizing your ISO container, thinking outside the box, literally, unlocks a world of possibilities. First off, consider glass installations; adding large windows or sliding glass doors can transform a steel box into a bright and welcoming space. Skylights are another fantastic way to bring in natural light, making the container feel more spacious. For those looking at a container home or office, insulation is key. Opt for spray foam as it adheres well to metal, wrapping your space in a cozy blanket that keeps the weather outside. Now, don’t forget about the power of paint. Vibrant colors can turn a dull container into a striking architectural statement. If you’re aiming for sustainability, green roofs are not just trendy. They cool your container in the summer and insulate in the winter, plus they look amazing. Last but not least, mobility. Consider adding wheels if you foresee the need to move your container. With these ideas, your container can be anything but ordinary.
Selecting the Right Professionals for Your Project
Choosing the right team is key to any repair, upgrade, or customization of your ISO container. You want folks with the right skills, of course. But, it’s not just about having the know-how. You should look for a team that’s reliable and communicates clearly. They need to get what you want and the vision you have for your container. Price matters, but remember, sometimes you get what you pay for. A cheaper option might save you bucks now but could mean headaches and more expenses down the road. So, when you’re picking your professionals, consider their reputation, their previous work, and yes, how much they’re charging. A bit of research upfront can save you a ton of trouble later. Make sure they’re up to the task and are on the same page as you. This way, you’ll have a smoother ride getting your ISO container to be just the way you want it.
Cost Estimation and Budgeting for Your Container Project
When diving into repairing, upgrading, or customizing your ISO container, knowing your spending limit is crucial. The costs can vary widely, depending on what you’re planning to do. Simple repairs might only set you back a few hundred dollars, while full-scale customizations or upgrades can climb into the thousands. Think about the purpose of your container project. Is it for storage, a mobile office, or maintenance? Your aim greatly influences your budget. Start with getting a clear idea of what materials you’ll need. Are you insulating, adding windows, or installing plumbing? Each addition comes with its own price tag. Labor costs can’t be ignored either. If you’re not doing the work yourself, hiring professionals adds to your budget. Always include a buffer in your budget, at least 10-20% extra, for unexpected expenses. Prices for materials and labor can fluctuate, and it’s better to be prepared. In summary, effective cost estimation and budgeting require you to define your project’s scope, know the materials and labor costs, and always plan for unforeseen expenses. Keep a keen eye on your budget as you progress, making adjustments as needed to ensure your container project doesn’t financially go overboard.
Timeline and Project Management Tips
Managing your time and project for repairing, upgrading, or customizing an ISO container is crucial. Start by defining a clear goal. What’s the ultimate purpose of your container? Having this clarity will prevent you from straying off course. Next, outline a realistic timeline. Some projects may only take a few weeks, while others could stretch into months. Repairs should have a shorter timeframe, but customization is a more extended endeavor. Now, onto the nitty-gritty – planning. Divide your project into smaller tasks to simplify management and reduce overwhelm. Anticipate challenges. Not everything will go smoothly. Issues may arise with materials or permits. Allocate extra time to address these unexpected hurdles. Keep track of your progress through regular updates to your plan to stay proactive and in charge. Lastly, if things become too overwhelming, consider bringing in a professional. Their fresh perspective can save you time and reduce stress. By following these guidelines, you can navigate your container project like a pro without it spiraling into an endless ordeal.
Conclusion: Maximizing the Potential of Your ISO Container
Maximizing your ISO container’s value isn’t a snap decision—it involves careful thought. Consider each upgrade or repair’s impact on your long-term goals. Balance the costs with the benefits. Will a new cooling system keep perishables fresh longer? Does your shipping container need new doors or side pannels? The aim is to boost both the container’s function and efficiency. Seek advice from experts to ensure compliance with local regulations and the use of optimal materials. Also, think ahead. Your needs might change, as might the uses for your container. Stay adaptable and wise. By adhering to these principles, you’re not merely refurbishing a container; you’re securing a versatile asset that evolves with you.